|
|
|
|
 The Rock The Rock
|
|
Date Posted: Sep 27 2001
|
|
Author: Unaclocker
|
|
|
|
|
Posting Type: Article
|
|
Category: ProCooling Projects
|
|
Page: 1 of 5
|
|
Article Rank:No Rank Yet
Must Log In to Rank This Article
|
|
|
|
|
Note: This is a legacy article, imported from old code. Due to this some items on the page may not function as expected. Links, Colors, and some images may not be set correctly.
|
|
|
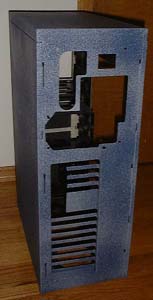
The Rock By: Unaclocker
|
|
Before we get into this article, let me warn you and apologize at the same time. As much as I tried to document every step of this project, it was not done in any kind of order; I did it as supplies and money allowed. Most of the project was completed in a 3 week span of time. Even in that 3 week period, I did things in an odd order. I'd cut out one of 2 fan holes, then I'd paint part of the case, then I'd go back and cut the other fan hole. Why? Because I was on a shoestring budget, had to juggle bills, and I'd run out of things like dremel cutting bits. A few days later, I'd find money to buy more dremel cutting discs. So bear with me on this wild Rocky ride. This project started over 6 months ago, and in that time it has slowly evolved and changed. Many of my original goals are still in place, though some have been dropped, and others have been added. My original goals were:
- Low budget - Keep it cheap
- Very Unique looking computer
- Self contained cooling, and simple/cleanly routed hoses.
- Black interior, so that when I use a blacklight to make things inside the case glow, only the things I want to see are seen.
- And most of all, I wanted the system to look good, I didn't want any part to look "ghetto" or MacGyver-ish. (ie no duct tape anywhere)
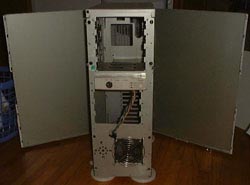
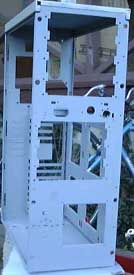
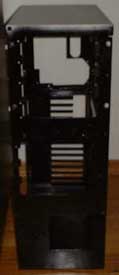
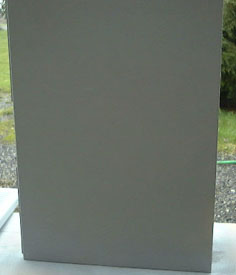
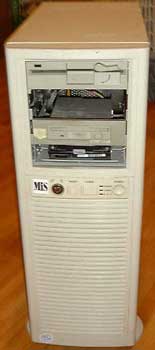
Here is the case I started with:
|
|
|
|
|
|
 |
|
 |
|
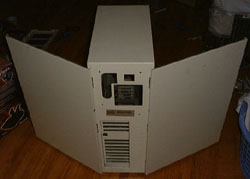
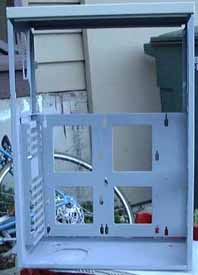
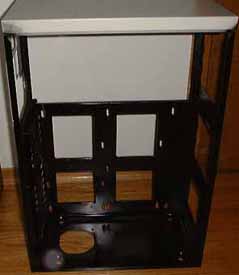
As you can tell by the floppy drive, this case is ancient. In the second picture, you'll see that it's not even ATX, but rather an extended AT. It was a server case, and was designed for motherboards with an extended number of expansion slots. Why did I choose this case rather than just finding a case that was already ATX? Well, number one, the size of this case; it's very large. Secondly, have a look at these next two pictures.
|
|
|
|
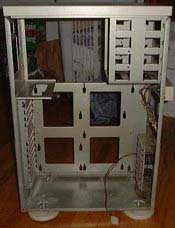
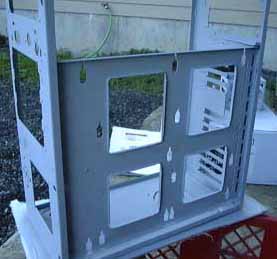
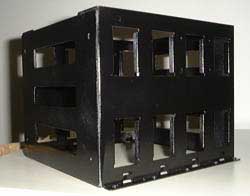
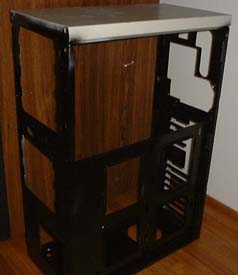
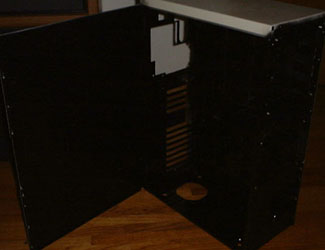
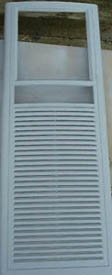
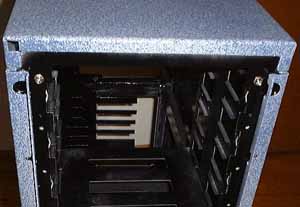
Swing out hinged doors. Very trick. Very handy for gaining easy access into the case. I believe this case was made by Addtronics, but I haven't been able to find out for sure. I emailed their tech support to no avail. They don't seem to keep track of their out of production cases. Now, one last shot to show the inside of the case (after I had removed the 486 motherboard, power supply, and drives, along with the hard drive cage).
|
|
|
|
Before even starting this project, I measured the motherboard tray and compared it to an ATX case I had. I found that it was the right size. I'd just need to cut the square opening in the back for the ATX back plane to poke through.
At this point, I started cleaning up the case. It sat in a garage for several years and had some minor surface rust in places, as well as dust everywhere. Using a combination of a wire brush and dust rag, I prepared the chassis to be painted with some Rustoleum primer.
I originally wanted to paint the interior with Hammerite, but I was unable to locate any; so I went with gloss black instead. I chose black to enhance the effect of the black lights I planned on installing. With the interior of the case painted black, anything glowing would really stand out.
|
|
|
|
|
|
|
|
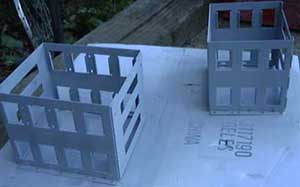
Well, you've got to start somewhere. For me, that happened to be the drive cages. Nothing too fancy here. I laid them on a cardboard box and primed them thoroughly.
|
|
|
|
|
Priming is pretty simple, especially on something like the interior of the case. I wasn't too worried about runs or getting the paint smooth. Most of this paint wouldn't even be visible from the outside of the case anyway. As you can see here, I had already cut the hole for the ATX power supply and one of the bottom fans, but I'll get to this later.
|
|
|
|
|
|
Again, I started with the drive cages when I began painting.
|
|
|
|
|
It turned out pretty well. I put on 2 coats of gloss black. The paint just barely had enough time between coats to dry. As you can see, I wasn't concerned with overlap onto the exterior of the case because it's going to be repainted as well. Even though I didn't try very hard to make the paint look nice, the results look pretty good. The only goal I had when applying the paint was to make sure it was even and completely covered the primer. I also planned on painting the power supply and radiator black, but as you'll see, I didn't get around to that until about 6 months later.
|
|
|
|
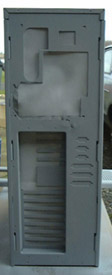
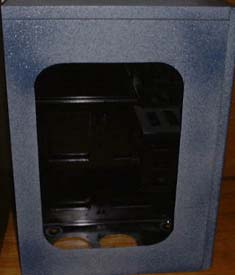
This is the case with the sides on and the left side open. Even with the flash ON on my camera, you can't see anything inside the case. Perfect. When the black light is on, the only thing visible should be the hoses and possibly what the hoses light up around them.
At this point, I cut the opening for the window. I wanted to get it cut before I painted the outside of the case so that I didn't scratch the paint. I had already made several cuts in the case and had learned that the thick old metal of this case liked to eat dremel discs. I estimated that it'd take me about $30 worth of dremel discs and about 2 hours of cutting in order to cut the window I wanted. Obviously, I needed a different technique. So I
|
|
|
|
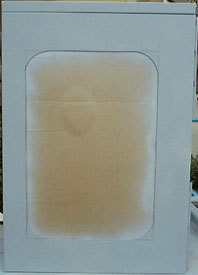
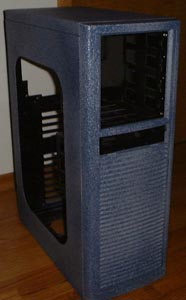
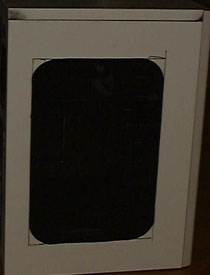
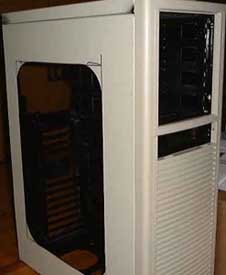
borrowed a jig-saw from a friend, and I bought 2 sheet metal cutting blades for it from Wal-Mart for $1.50. I wasn't sure how well that would work, but I had a feeling it'd be faster and cheaper than a dremel. Now I had to draw out the window I wanted to cut. I measured about 2" in from each side and drew a box on the case. At the corners, I sat a large can on the case and used it to draw the smooth arc around the corners of the window. I had originally taken several pictures of all the steps of drawing the window; unfortunately, I lost them. All I have now are the completed pictures of the window. Anyway, I used a drill to drill a small pilot hole in the side panel. I then started cutting with the jigsaw. To my amazement, the jigsaw went in a perfectly straight line, rounded the corners perfectly, and stayed right on track the whole way. It took me a whole 2 minutes or less to cut the window. I was very impressed having only spent 5+ minutes with the dremel to cut a fan hole.
|
|
 |
|
 |
|
As you can see, it's cave like inside the case.
We're now ready to move on to the exterior painting. Obviously, I needed to tape off the inside of the case to keep the primer and paint from getting on the interior surfaces. I used normal paper and masking tape in most places. For the window, I used a large piece of cardboard.
|
|
|
|
Priming was, once again, simple. The primer dried nice and fast, even in the 55f weather. Once again, I didn't have to worry about runs or smoothness. Why, you ask? Well, you're about to see why this project is called "The Rock".
|
|
|
|
|
|
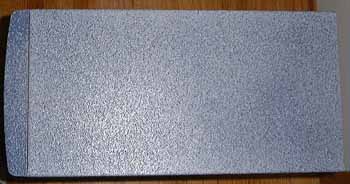
Stone Fleck paint! I picked this stuff up at Wal-Mart. It's granite blue and gives a nice textured finish. I had never used this kind of paint before, so I had to "wing" it and learn how to paint with it as I went. It was way too expensive to practice with. The "paint" went on a lot like artificial snow. It comes out of the nozzle with the same force and consistency as the canned snow you spray on things around Christmas time.
|
|
|
|
|
|
|
One of the lessons I learned is that I should have put more primer over the lines from my window. You can see the primer though the stone fleck paint which means you can also see the lines. It was really hard to put this "paint" on evenly. You can see this by looking around the corners of the window where I tried to cover the lines.
|
|
 |
|
|
|
|
|
|
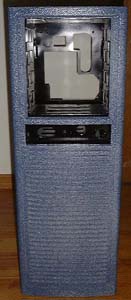
All in all, the paint turned out fabulous. This definitely pushed my case towards one of my original goals, "Unique looking". I also put on about a dozen coats of the clear coat that was recommended for this paint. This was supposed to help protect it from scratches. I think it did for the most part, but the paint is definitely still prone to scratching.
Now that we have the paint covered, we can get into the slicing and dicing I had planned for the case. Let's start with the 2 fans I put in the bottom of the case for air intake.
|
|
|
|
| Random Forum Pic |
 |
| From Thread: ANOTHER new water block in the works. |
|
| | ProCooling Poll: |
| So why the hell not? |
|
I agree!
|
 67% 67%
|
|
What?
|
 17% 17%
|
|
Hell NO!
|
 0% 0%
|
|
Worst Poll Ever.
|
 17% 17%
|
Total Votes:18Please Login to Vote!
|
|


 The Rock


