|
|
|
|
 Little Stealth Little Stealth
|
|
Date Posted: Dec 9 2000
|
|
Author: Unaclocker
|
|
|
|
|
Posting Type: Article
|
|
Category: ProCooling Projects
|
|
Page: 1 of 3
|
|
Article Rank:No Rank Yet
Must Log In to Rank This Article
|
|
|
|
|
Note: This is a legacy article, imported from old code. Due to this some items on the page may not function as expected. Links, Colors, and some images may not be set correctly.
|
|
|
Little Stealth By: Unaclocker
|
|
My goal in this project was to be able to fit an entire watercooling system inside of a mid tower ATX case, and to make the case appear virtually normal from the outside. The main reason for wanting it all enclosed was to make the system very easy to take to lan parties. With my last setup, it took 2 people to carry the system anywhere, 1 to carry the case, and 1 to carry the reservoir and pump, doing a little dance as they carried it. I also had the normal watercooling goals in mind. I wanted it to run a lot cooler than air-cooling could ever hope to run. I wanted the system to be quieter than air-cooling, preferably quieter than a FOP32, but definitely quieter than a FOP38 (FOP32 uses the YS Tech 32cfm 60mm fan, and the FOP38 uses the Delta black label 38cfm 60mm fan which sounds like a leafblower).
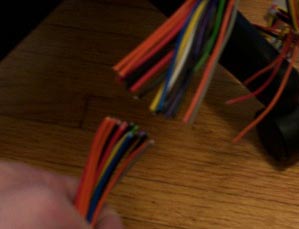
So here we go, let's start with the case itself. This is a generic no-name case I picked up at the local computer store for like $40 a couple months ago. The power supply is a PowerMan 300 watt ATX2.03 compliant. The first thing I did had to do with the power supply. This power supply was definitely intended for a full tower case, the ATX power wires for the motherboard were 1.5 feet long. With my new cramped setup, that much excess just wouldn't do. So...
|
|
|
|
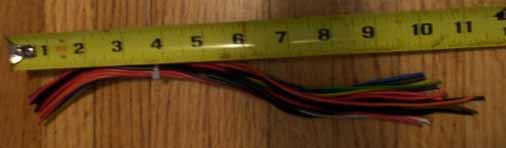
Yep, that's right, even if I bundled the wires really nicely, there was just too much there, it wouldn't fit. So I removed 10" of wire from it.
|
|
|
|
|
|
And then I proceeded to solder the wires back together, which took FOREVER! I used a 25watt soldering iron to do this.
|
|
|
|
|
|
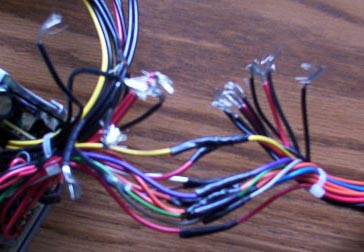
Turned out rather nice when it was all done. Another thing I wanted to do was to wire my pump into the power supply, so that I didn't have a power cord hanging out the back of my case, unfortunately, this proved overly difficult, so I haven't done that yet, I fully intend to get back to it in the near future.
|
|
|
|
|
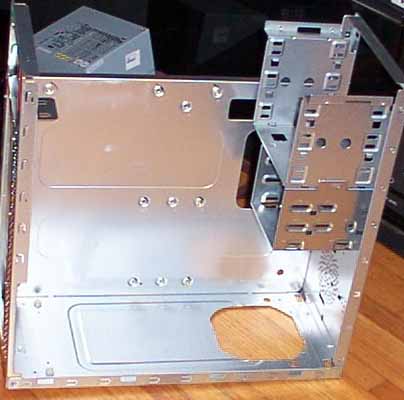
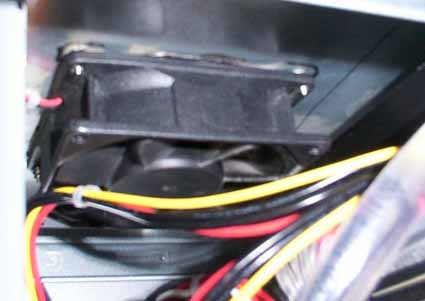
The next thing I did was strip the case completely down and cut a 120mm hole in the floor of the case for an intake hole. The idea is that a 120mm fan will suck air up through this hole, through the radiator, and up into the case. I used a single speed dremel, and a fiberglass reinforced cutting wheel to cut this hole
|
|
|
|
|
|
|
|
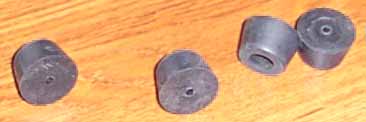
I just glued these feet on, I didn't feel like screwing them on. Unfortunately, these feet aren't as tall as I hoped, and I may need to remove them and either go with some wheels (woohoo!), or taller feet. These feet work great like this:
|
|
|
|
|
But I want to put a filter down there, a black plastic filter, and it's too close to the floor as it is. So that's another modification I will be making in the near future. (By the way, this picture here, of the bottom of the case, I took while the system was on, I love being able to pick the case up and flip it this way and that without worrying about the watercooling.
|
|
|
|
|
|
|
|
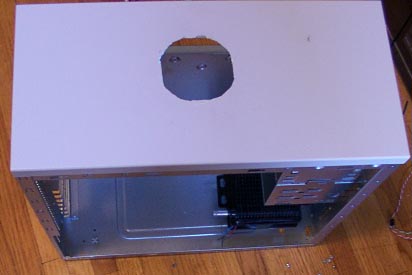
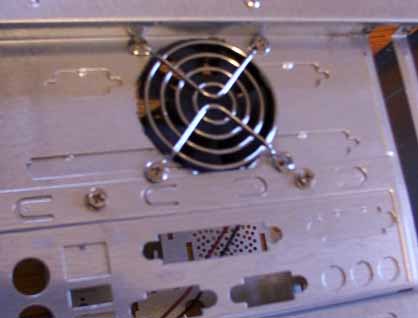
Now that lower blowhole is nice and all, but blowing through the radiator, it does introduce heat into the system, so I need a nice way to get that out of the system. I had hoped to make the system completely stealth, but a blowhole won't hurt that much, blowholes are quite common now. I did consider taking the case to an auto body shop and having louvers put in the top of it, I decided against it for time reasons. And I probably would have decided against it for funding reasons too. So here we go. I removed the lid from the case, and cut the hole from the inside:
|
|
|
|
|
Generally in the dead center. I had 2 obstacles to consider when placing this hole. 1 was the power supply, and the CD-Rom drive. They're both up against the top of the case also.
|
|
|
|
|
|
|
|
and from the top
|
|
|
|
 |
|
|
|
Might look better with a metal grill, but this is what I had on hand.
|
|
|
|
|
|
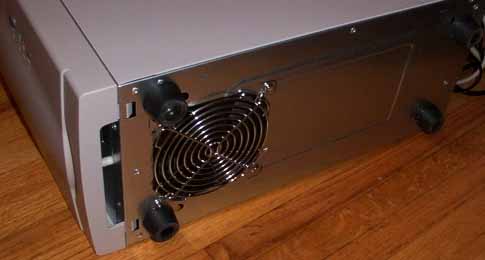
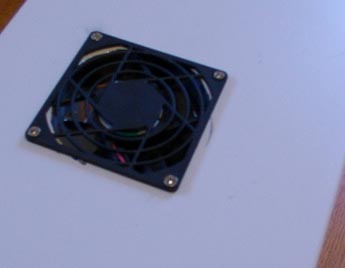
Now this could have been all I needed to cut into the case, but I had this nagging suspicion that the air coming off my heat sink was helping to cool the voltage regulators on my motherboard, so I decided to put in a 60mm fan over my I/O ports, which will eventually have a duct directing air down over the voltage regulators on my motherboard. I just haven't gotten around to making that little duct yet. I used a dremel to cut this hole too, which was a lot more difficult because of the small circle, and tight working conditions.
|
|
|
|
|
Turned out rather nice, if I do say so myself. ;) I bought a filter for this intake, I haven't installed it yet, simple metal mesh filter. This is a low noise low air flow 60mm fan, it should do the job great. My only worry is that it might catch the warm air coming out of the power supply, and suck it back into the system. Even doing that, it'll keep my voltage regulators cooler than they would be with no airflow.
Now that we've covered my case modifications (at least, most of them), we can move on to the radiator.
|
|
|
|
|
|
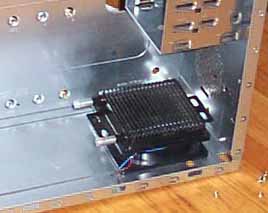
This is the little 4"x4" radiator that OverClock Watercool sells for $40. When I bought this radiator, I mentioned that I needed it for this article, and he sent out one that he had been using, normally I'd have had to wait till he got his next shipment in, apparently they sell faster than he can get them. He had JB Welded a 120mm fan to the radiator, so I just went ahead and left it glued on. I have no idea what brand or model this fan is.
|
|
|
|
|
| Random Forum Pic |
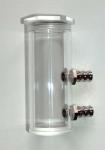 |
| From Thread: Post pictures of your resivors |
|
| | ProCooling Poll: |
| So why the hell not? |
|
I agree!
|
 67% 67%
|
|
What?
|
 17% 17%
|
|
Hell NO!
|
 0% 0%
|
|
Worst Poll Ever.
|
 17% 17%
|
Total Votes:18Please Login to Vote!
|
|